| Twin goddesses | |
|---|---|
 Twin goddesses | |
|
VIZ Media name |
N/A |
|
Variant |
N/A |
|
Original name |
N/A |
|
Rank No. |
N/A |
|
Current status |
Facade destroyed, rescues Clare |
|
Ties |
Organization |
|
Class |
Type: Unknown |
|
Technique |
Unknown |
|
Quote |
That is no longer Rafaela nor Luciela...It's...the Destroyer.[1] |
|
First appearance |
|
 Destroyer—7 phases ↓
 I. Luciela x Rafaela
 II. Twin goddesses
- Rod ↓
- Hellcat
- Infected host
- III. Mass being
- IV. Mass being + Clare
- V. Cocoon
- VI. Destroyer–Priscilla
- VII. Destroyer–Riful's daughter


Etymology[]
Unnamed by characters in original Japanese text. Given a variety of names in translations, usually a synonym of "destroyer."
This second phase of the Destroyer—the "Twin goddesses"—is what is commonly called the "Destroyer" by readers and reference websites.
Scanlator origin[]
"Destroyer" originally a scanlation term, now used by VIZ Media.
Clare[]
Clare first describes entity as a 破壊者 (destroyer) in generic sense of "vandal" or "breaker."[2]
Clare's second "use" of "destroyer" is actually "broken," not "destroyer" or "destroyed."[3]
Clare's dialog (ラファエラとルシエラの融合体から吐き出された破壊する者の断片だ) can be translated as "From the fused Rafaela and Luciela, fragments were broken and expelled."[4]
Appearance[]
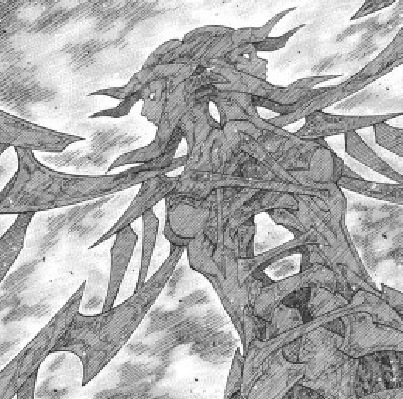
A skyscraper-high structure with four skeleton wings resembling the Yagi radio antennae. Similar to Teresa and Clare, twin goddesses of Love. Winged figure motif may derive from various characters in Norihiro Yagi's first series, Angel Densetsu.
The structure later proves to be a facade. When the facade is destroyed by Priscilla, an entity of massive Yoma Energy is released. Later this Yoma Energy Mass contracts into a cocoon, trapping both Priscilla and Clare.
Datasheet[]
Class[]
Both Luciela and Rafaela are of the offensive type.[5] Having no Organization datasheet in the "Yoma War Record," the ability and baselines of the Destroyer itself are unknown.
Appears to have high strength (shapeshifting) and Yoma power baselines.
Deneve senses Destroyer to be more powerful than the Abyssal Ones.[6]
Ability[]
Rod[]
Crown-like structure extrudes from mouth. rods mounted like cartridges on machine-gun belt. Crown fires barrage at 360 degree angle.
Fan reader phrase "Parasitic Rod" may allude to parasitic rods of Yagi antenna.
Technique[]
Techniques unnamed by characters.
History[]
Phase I[]
Witch's Maw II[]
Baited by Rubel, the warriors search for Renée and Rafaela. In forest, they encounter Dauf, who grabs Yuma's leg—Clare cuts it off.[7] While Cynthia regenerates Yuma's leg, Clare follows Dauf into Witch's Maw II. Fight inside castle results. But Clare escapes.[8]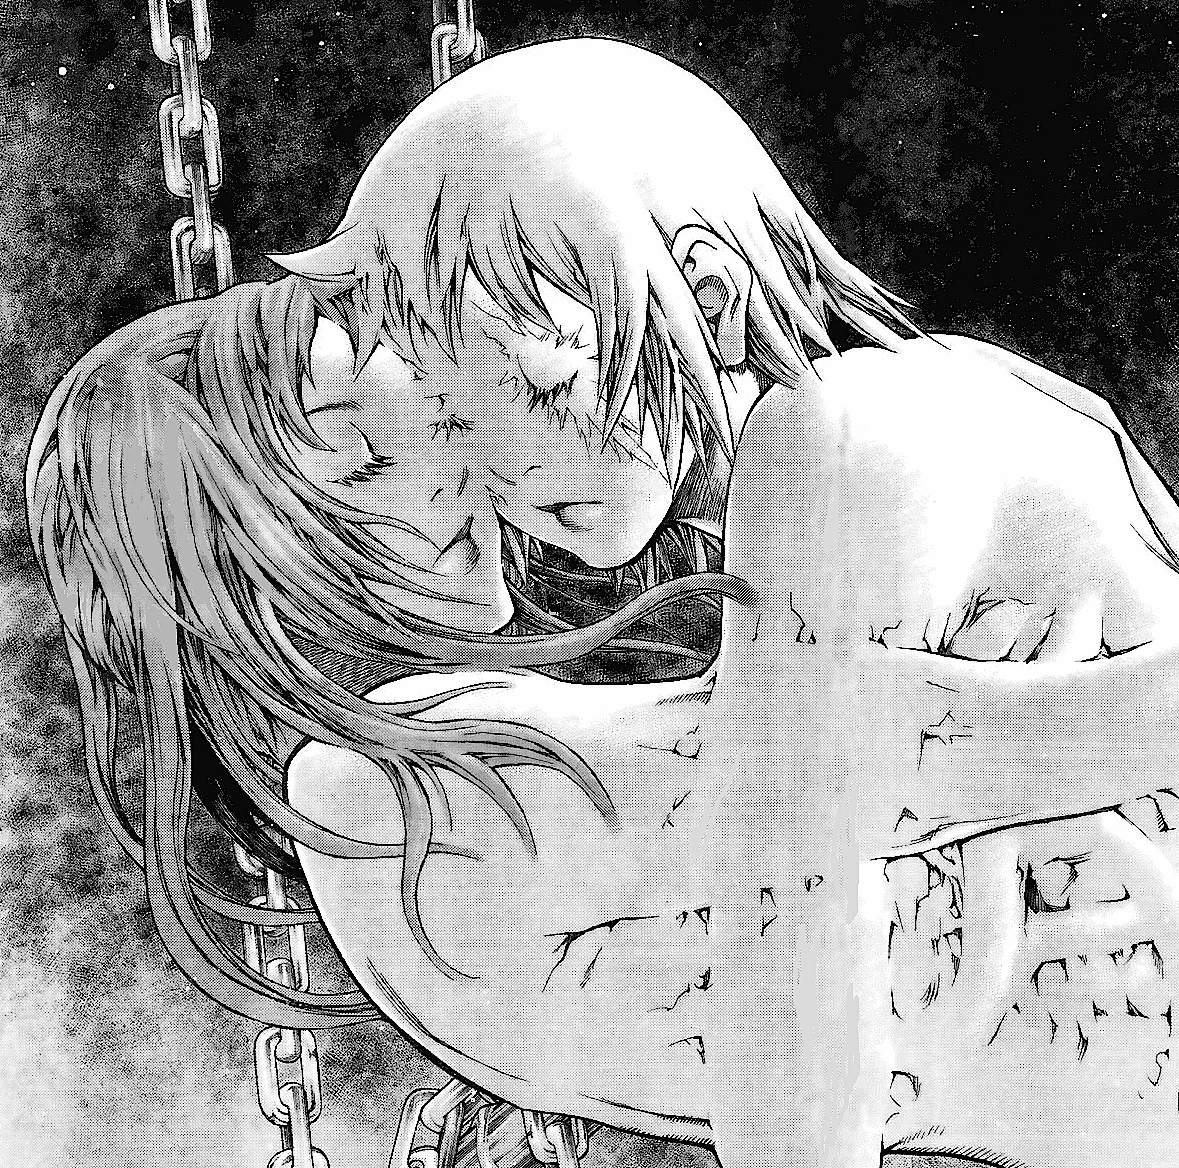
Luciela x Rafaela
Renée takes a suppressant and flees. Dauf tries to pursue her, but she loses him. While Riful and Dauf are distracted by Renée, Clare reenters castle. There she finds the merged sisters, Luciela x Rafaela.[9]
Dream world[]
Clare enters the mind of Luciela x Rafaela. In a dream world, Clare and Jean meet Rafaela in a replay from Scene 50.[10]
When Clare reaches out, Jean is gone. Rafaela attacks and Clare responds with Windcutter. But Rafaela kills Clare. But Clare wakes from dream within dream. Switching from Windcutter to Quicksword, Clare kills Rafaela with Ilena's arm. Rafaela gives Clare all her memories, among which is "something you must know."[11]
Phase II[]
Awakening[]
When the merged sisters awakens, the castle bursts apart.[12]
Clare's naked body emerges from mass of Yoma tissue. She gazes on sky-high entity—the Destroyer—a demonic parody of twin goddesses of love, Teresa and Clare.[13]
The goddess Destroyer forms crown of rods, resembling radiant halo of Apollo.[14] A 180 degree barrage of rods begins as Deneve and Helen reach Clare.[15]
Hellcats[]
Mewing rods morph into Hellcats, which attack Clare, Deneve and Helen.[16]
Deneve, Helen and Clare counterattack. One Hellcat shoots rods into Deneve's arm. The rods prove parasitic—they absorb the life of any living thing they touch.[17]
When one Hellcat fires a barrage of rods, Clare ricochets the rods back to the source.[18]
Hellcats surround the warriors, bringing back memories of Pieta.[19]
Clare[]
Between rod volleys, Priscilla finds the source of Teresa's scent. Clare confronts Priscilla for first time since Clare's childhood.[20] Clare is ready to abandon friends and her humanity to avenge Teresa's death.[21]
But Jean's mental "block" prevents Clare from awakening, causing her attacks to fail. Deneve and Helen grab Clare and flee Priscilla.[22]
Dauf[]
Deneve decides to seek refuge with the Destoyer. .[23]
Dauf intercepts Priscilla. But she defeats him. Her memory nearly restored, she continues her pursuit.[24]
Phase III[]

Mass entity
While pursuing the warriors, Priscilla is hit with tentacles from the Destroyer. Priscilla then attacks the Destroyer with her own tentacles. The Destroyer crumbles apart, only to reveal its true form—a Yoma energy mass of demonic female shapes, swallowing all life it touches.[25]
References[]
Tankōbon Claymore volumes cited are VIZ Media (en-us) editions, unless otherwise noted. Manga scenes (chapters) not yet translated cite Shueisha tankōbon (ja) editions. Manga scenes not yet published in tankōbon form cite Jump SQ (ja) editions. Fragments of Silver Omnibus (総集編 銀の断章 Gin no Danshou) 1–3, Shueisha, are only available in Japanese. Anime scenes (episodes) cited are FUNimation (en-us) editions, unless otherwise noted.
- ↑ Claymore 19, Scene 94, p. 146
- ↑ Claymore 17, Scene 94, p. 146
- ↑ Claymore 17, Scene 95, p. 175
- ↑ Claymore 17, Shueisha, Scene 95, p. 175
- ↑ Fragment of Silver Omnibus 3, "Yoma War Record III," p. 731
- ↑ Claymore 17, Scene 93, p. 112
- ↑ Claymore 17, Scene 90, pp. 20–31
- ↑ Claymore 17, Scene 91, pp. 39—50
- ↑ Claymore 17, Scene 91, pp. 48–63
- ↑ Claymore 9, Scene 50, p. 65
- ↑ Claymore 17, Scene 92, p. 89
- ↑ Claymore 17, Scene 93, pp. 98–99
- ↑ Claymore 17, Scene 93, p. 108
- ↑ Claymore 17, Scene 94, p. 148
- ↑ Claymore 17, Scene 94, pp. 150–151
- ↑ Claymore 17, Scene 95, pp. 161–163
- ↑ Claymore 17, Scene 95, pp. 168–170
- ↑ Claymore 17, Scene 95, p. 173
- ↑ Claymore 17, Scene 95, p. 178
- ↑ Claymore 18, Scene 99, pp. 124–125
- ↑ Claymore 18, Scene 100, pp. 150–151
- ↑ Claymore 18, Scene 101, p. 177
- ↑ Claymore 19, Scene 103, p. 40
- ↑ Claymore 19, Scene 103, pp. 60–61
- ↑ Claymore 19, Scene 104, pp. 74–83