| Rubel | |
|---|---|
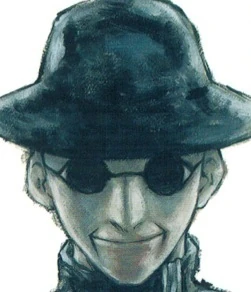 Rubel from Memorabilia | |
|
VIZ Media name |
Rubel[1] (en-us |
|
Variant |
Rubel[2] (de |
|
Original name |
ルヴル[10] Ruvuru |
|
Rank |
Unknown |
|
Current status |
Alive |
|
Ties |
Organization, Dragons' allies |
|
Sector |
Man in Black |
|
Duties |
Logistics, communications, field command, fee collection |
|
Quote |
Every Era has its hero. It's too bad...it isn't you.[11] |
|
Anime voice |
Stefan Staudinger (de), |
|
First appearance |
|
Etymology[]
ルヴル transliterates from "Louvre." May allude to Musée du Louvre (officially Grand Louvre) in Paris, France.
"Louvre" ultimately derives from the Latin laurus (laurel).
VIZ Media and FUNimation use "Rubel."[12]
Appearance[]
Gaunt face, thin figure. Height appears similar to Clare's.[13] Of indeterminate age, he looks unchanged from the Teresa arc to the current generation.[14]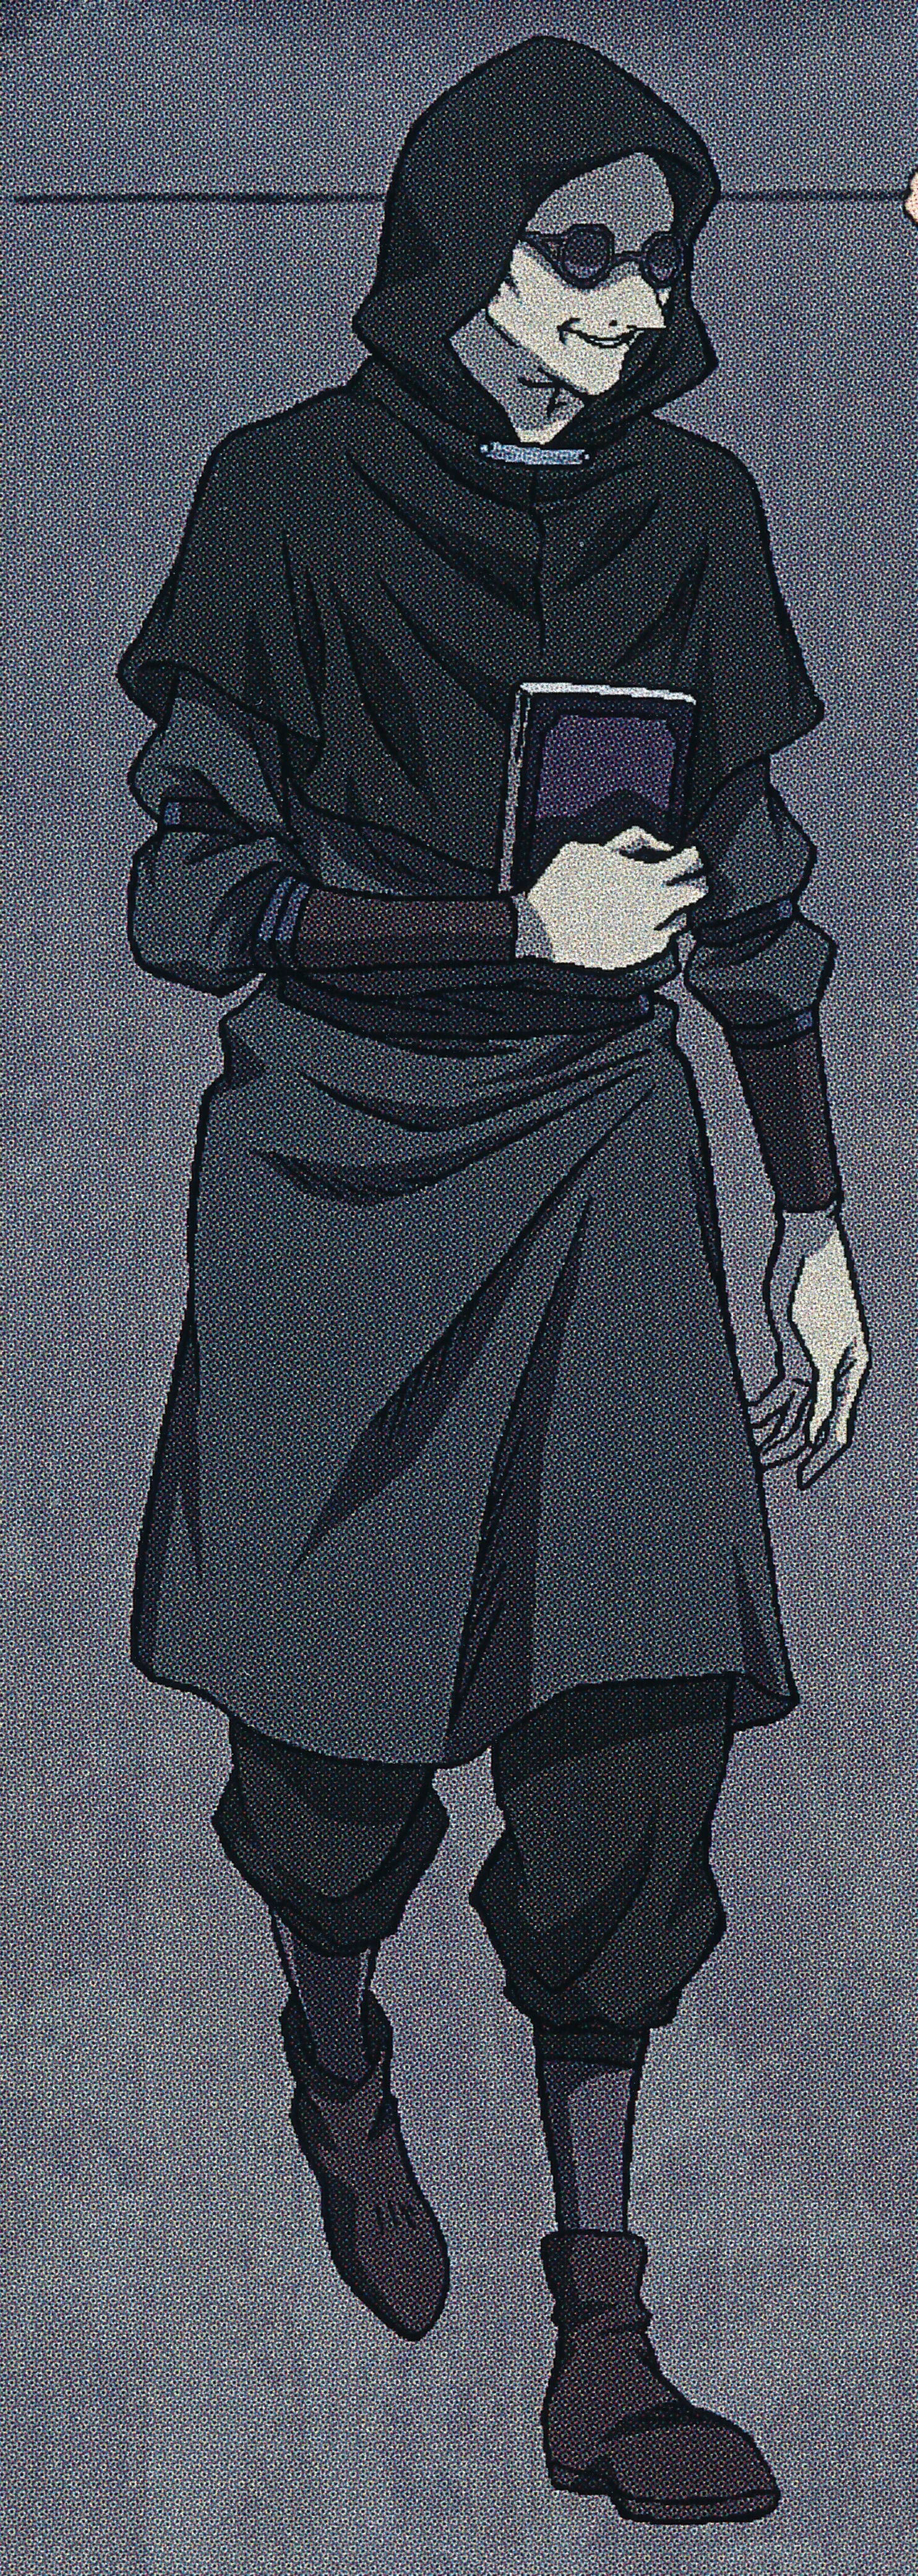
Rubel in cowl
As a Man in Black, he dresses in a black, clerical-like suit. He always wears dark glasses and a hat. Anime has scene where he wears a monk's cowl.
Personality[]
Congenial, unctuous persona. Cheerful even in his most Machiavellian moments.
Despite Rubel's jump-starting Clare's career, their relationship remains a chilly one. His double-dealings anger Clare. Except for Ilena, he understands Clare's motivations better than anyone. His understanding is more cerebral, Ilena's more emotional.
History[]
Early life unknown. From mainland.
Early arc[]
Volunteer[]
After the death of her first mentor, Teresa, Clare looks for a man dressed in black.[15]

Clare finds Rubel
Cradling Teresa's head, Clare finds him: Rubel, who helps her join Organization. She insists that Teresa's flesh and blood be put into her.[16] Despite Rubel's jump-starting Clare's career, their relationship remains a chilly one. His double-dealings anger Clare.[17]
School[]
At the warrior school, Rubel breaks up a fight between Clare and a rival.[18]
Later, in a ruined village, Clare and a group of trainees, including the rival, are put through the final exam. Clare and the rival initially fight each other. But a Yoma forces them to cooperate.[19]
After Clare kills a Yoma, she carries out her former rival, as Rubel watches in the distance.[20]
Strah[]
As a Claymore warrior, Clare bathes at a waterfall, Rubel makes first appearance in series. He advises that she can never wash off the Yoma scent, since her own body produces it.[21]
He gives new assignment—village of Strah. 27 People have died—sign of a Yoma pack at work.[22]
Black card[]
In forest, she meets Rubel, who brought new clothes to replace the ones damaged by the Yoma outside Egon. He warns her not to get too attached to Raki. Before leaving, he gives her a new assignment—Elena's black card.[23]
In anime version, Raki meets Rubel at Shire inn.[24]
Rabona[]
Rubel sends Clare on covert operation—impersonating an art dealer, while hunting for a Yoma. The request came from the Holy City of Rabona. But since Rabona bans anything "unnatural," including Claymore warriors, Clare has to take suppressant to return her eye color to "normal."[25]
Awakened hunts[]
Paburo hunt[]
During a campfire meeting, Rubel reveals to Clare the truth about "Voracious Eaters." The phrase is intended for use outside the Organization.[26]
Within the Organization, these special Yoma are called "awakened beings." They are former Claymore warriors that have awakened.[27]

Rubel warns Clare
Since Clare wants to fight an awakened being, Rubel assigns her to Paburo hunt.[28]
Gonahl hunt[]
Clare has routine night meeting with Rubel. He comments on how well-behaved Clare has been lately. He assigns her to Gonahl hunt. The target is a Former Single-digit warrior.[29]
3-month timeskip[]
Clare has taken absence without leave.
At Organization headquarters, Rubel meets the Executive. The awakened body of Ophelia has been found. Chief Limt asks if Clare killed Ophelia. Rubel expresses his doubts.[30]
Executive members debate whether Clare's transplant of Teresa succeeded or not[31].
Limt orders Ermita to find Clare.[32]
Battle of the North[]
After surviving the Witch's Maw, Clare and Jean travel though forest. Suddenly, a Claymore warrior confronts them. She has one eye missing. She asks which is Clare.[33]
Clare is confused as she failed to sense the warrior's Yoma aura. Rubel appears behind the warrior.[34]
Rubel reveals that the warrior, Rafaela, excels in Yoma Energy Suppression. Also, that she can take on both Clare and Jean. But because Clare aided everyone, the Organization will pardon her for desertion, provided she joins the Pieta battle group.[35]
He adds that Raki was captured by a slave trader and taken north. Rubel gives Clare a choice. She can either stay south, awaiting execution, or go north, join the battle group and find Raki.[36]
Manga[]
The battle group is defeated. After the second engagement of Pieta, only seven warriors survive—Miria, Cynthia, Deneve, Helen, Tabitha, Yuma and Clare.[37]
Anime[]
Anime[]
In a desert, Rubel meets Galatea. He assigns her to the Alfons mission and observe the fighting.[38]

Rubel and Galatea

Up in Alfons, she meets Miria, Deneve and Helen, who are searching for Clare. Galatea points to the volcano.[39]

Later, in a Pieta church, when Rubel asks if Clare is still alive, Galatea falsely reports that Clare's Yoma aura is undetectable. She silently bids Clare farewell. Series ends for Galatea here.[40]
Controlled Awakening[]
As the Northern Army approaches Organization Headquarters, identical twins in black uniforms—Alicia and Beth—confront the army.[41]
Galatea and Rubel watch Alicia awaken into a winged form, while Beth appears to meditate. Galatea speculates that "They share...one mind...?"[42]
Rubel reveals that Alicia and Beth have lost almost all individuality (almost no "self" or intellect), explaining how the twins were trained from infancy to be of one mind—in short, a 2-body Claymore warrior.[43]
7-year timeskip[]
Lacroix[]
In Lacroix, Clare and Cynthia fight a female awakened, while Yuma knocks unconscious an Organization search and rescue team who are looking for Renée. The awakened is killed and the village saved.[44] But Rubel witnesses everything. Later in a private meeting, Cynthia realizes that Rubel is a mole for the Dragons' allies.[45]
Rubel plays on their sympathies by claiming that Rafaela and Renée are being held captive by Riful. Clare suspects that Rubel is only trying to get them killed.[46]
Phantom[]
At headquarters, Miria disables most warriors, as she did Tabitha. But ends up fighting Twin Trainees, with similar Controlled Awakening as Alicia and Beth.[47]
Rubel watches Rafutera uses a form of Yoma power harmonization to entrain Miria's mind, enabling other warriors to cut down Miria.[48]
Rebellion[]
Emergency meeting[]
Rubel visits Dae working in a laboratory at headquarters. The corpses of three former No. 1 warriors—Cassandra, Hysteria and Roxanne—await resurrection.[49]
Rubel's supervisor enters and demands that Dae finish resurrecting the corpses as quickly as possible. Then he orders Rubel to an emergency meeting of Organization personnel.[50]
Aftermath[]
Dae and Rubel watch the death of Hysteria and the emerging phantasm. Dae says he recognizes the phantasm—the former No. 2, Priscilla, who killed the then No. 1, Teresa. After Priscilla awakened, she was supposedly defeated by Isley in the North.
Dae intends to search for Priscilla. And invites Rubel to accompany him.[51]
Toulouse[]
Ghosts[]
Clare and the Ghosts confront Cassandra. But Cassandra instantly regenerates her injuries. Up in the hills, Dae and Rubel observe from horseback the engagement in the valley below. Dae knows that the Ghosts' effort is doomed to fail. The Ghosts again dodge the renewed attacks of Cassandra.[52]
Elsewhere in the hills, Cynthia, Tabitha and Yuma realize their failure to synchronize with Cassandra. But despite this crisis, they become even more concerned about the mysterious, yet familiar aura that Helen noticed earlier.[53]
Awakened allies[]
Octavia's party joins the Ghosts in trying to stop Cassandra. But despite their best efforts, including Octavia awakening into her "Lady Godiva" form, Cassandra holds her own.[54]
All consuming hatred []
Dae and Rubel continue to observe the fight. Dae speculates on the basis of a Claymore warrior's strength—all consuming hatred.[55]
This hatred has two parts, one for the Yoma, and one for the warrior's own body, infected with Yoma flesh. Dae recounts Priscilla's history, where she knowingly killed her infected father. Though she later suppressed her memory of that memory, the hatred of Yoma and self-hatred for killing her father resulted in Fast Development and a high Yoma power baseline. Even her detached arm had enough energy to reanimate the three former No. 1s.
And Cassandra's consumption of Roxanne further augmented Priscilla's power over Cassandra, possibly to the point where Cassandra is now a separate part of Priscilla. When she absorbs Cassandra, Priscilla will further rejoin her old arm and become the most powerful awakened ever. [56]
Half-awakeneds[]
As the Abyssals fight, Rubel describes half-awakening—the ability to release Yoma energy to the point of awakening, yet being able to revert to normal. He confirms that four warriors, who have the ability, each has Yoma implants made from a donor that the warrior has an emotional bond with. [57]
Dae speculates that this emotional bond increases the warrior's control over the awakening process. When Rubel shows surprise at this, Dae reemphasizes his mind-over-body hypothesis and repeats his idea that hatred is the source of Yoma energy. [58]
When he accuses Rubel of concealing the half-awakeneds, Rubel dissembles about being too preoccupied with managing warriors in the field. Dae is disappointed at a missed opportunity to dissect and examine the warriors. When Rubel asks if warriors with controlled awakening really can be created, Dae thinks it not impossible, but with the collapse of the Organization, there is nothing he can do now. [59]
In the valley below, Priscilla and Riful's daughter continue to fight.[60]
Rubel begins to retreat on his horse, thinking the outcome irrevocable. But Dae says the best is yet to come.[61]
Endless energy[]
The two combatants damage each other then regenerate without end. Riful's daughter has overcome her energy limit by tapping into the remnants of the Destroyer. Priscilla begins to realize this herself, as does Rubel.[62]
Dae says that with the young Abyssal's endless supply of energy, the two combatants are now evenly matched. He invites Rubel to stay and watch.[63]
References[]
Tankōbon Claymore volumes cited are VIZ Media (en-us) editions, unless otherwise noted. Manga scenes (chapters) not yet translated cite Shueisha tankōbon (ja) editions. Manga scenes not yet published in tankōbon form cite Jump SQ (ja) editions. Fragments of Silver Omnibus (総集編 銀の断章 Gin no Danshou) 1–3, Shueisha, are only available in Japanese. Anime scenes (episodes) cited are FUNimation (en-us) editions, unless otherwise noted.
- ↑ Claymore 1, Scene 2, p.77
- ↑ Claymore 1, Tokyopop, Scene 2, p.77
- ↑ Claymore 1, Ediciones Glénat España, Scene 2, p. 77
- ↑ Claymore 1, Glénat Édition Française, Scene 2, p.77
- ↑ Claymore, Yamato Video, Anime Scene 18
- ↑ Claymore 1, Star Comics, Scene 2, p.75
- ↑ Claymore 1, Comix-ART, Scene 2, p.77
- ↑ Claymore 1, Culturecom, Scene 2, p.77
- ↑ Claymore 1, Ever Glory, Scene 2, p.77
- ↑ Claymore 1, Shueisha, Scene 2, p.77
- ↑ Claymore 5, Scene 25, p. 117
- ↑ Claymore 1, Scene 2, p. 77; Claymore, Anime Scene 2
- ↑ Claymore 1, Scene 4, p. 161
- ↑ Claymore 12, Scene 64, p. 10
- ↑ Claymore 5, Scene 24, p. 97; Claymore, Anime Scene 9
- ↑ Claymore 5, Scene 24, pp. 98–99; Claymore, Anime Scene 9
- ↑ Claymore 16, Scene 84, p. 33
- ↑ Claymore 14, Extra Scene 4, p. 168
- ↑ Claymore 14, Extra Scene 4, pp. 170–181
- ↑ Claymore 14, Extra Scene 4, p. 190
- ↑ Claymore 1, Scene 2, p. 77
- ↑ Claymore 1, Scene 2, p. 78
- ↑ Claymore 2, Scene 4, p. 161; Claymore, Anime Scene 2
- ↑ Claymore, Anime Scene 2
- ↑ Claymore 2, Scene 5, pp. 15–17; Claymore, Anime Scene 3
- ↑ Claymore 5, Scene 25, p. 113; Claymore, Anime Scene 9
- ↑ Claymore 5, Scene 25, p. 114; Claymore, Anime Scene 9
- ↑ Claymore 5, Scene 25, p. 118; Claymore, Anime Scene 9
- ↑ Claymore 6, Scene 31, p. 117; Claymore, Anime Scene 12
- ↑ Claymore 8, Scene 41, pp. 39–41; Claymore, Anime Scene 15
- ↑ Claymore 8, Scene 41, p. 41; Claymore, Anime Scene 15
- ↑ Claymore 8, Scene 41, p. 42; Claymore, Anime Scene 15
- ↑ Claymore 9, Scene 50, p. 135; Claymore, Anime Scene 18
- ↑ Claymore 9, Scene 50, p. 137; Claymore, Anime Scene 18
- ↑ Claymore 9, Scene 50, pp. 140–141; Claymore, Anime Scene 18
- ↑ Claymore 9, Scene 50, p. 142; Claymore, Anime Scene 18
- ↑ Claymore 12, Scene 66, pp. 93–94
- ↑ Claymore, Anime Scene 24
- ↑ Claymore, Anime Scene 24
- ↑ Claymore, Anime Scene 26
- ↑ Claymore 11, Scene 62, pp. 130–131
- ↑ Claymore 11, Scene 62, p. 144
- ↑ Claymore 11, Scene 62, pp. 144–146
- ↑ Claymore 15, Scene 83, pp. 181–193
- ↑ Claymore 16, Scene 84, p. 32
- ↑ Claymore 16, Scene 84, p. 37
- ↑ Claymore 19, Scene 106, p. 156
- ↑ Claymore 19, Scene 109, pp. 188–189
- ↑ Claymore 20, Scene 113, p. 159
- ↑ Claymore 20, Scene 113, p. 164
- ↑ Jump SQ, June 2012, Claymore, Scene 126, pp. 237–238
- ↑ Jump SQ, January 2013, Claymore, Scene 133, pp. 773–774
- ↑ Jump SQ, January 2013, Claymore, Scene 133, p. 775
- ↑ Jump SQ, February 2013, Claymore, Scene 134, pp. 605–621
- ↑ Jump SQ, April 2013, Claymore, Scene 136, p. 390
- ↑ Jump SQ, April 2013, Claymore, Scene 136, pp. 391–395
- ↑ Jump SQ, June 2013, Claymore, Scene 138, p. 669
- ↑ Jump SQ, June 2013, Claymore, Scene 138, p. 670
- ↑ Jump SQ, June 2013, Claymore, Scene 138, p. 671
- ↑ Jump SQ, June 2013, Claymore, Scene 138, p. 672
- ↑ Jump SQ, June 2013, Claymore, Scene 138, p. 673
- ↑ Jump SQ, June 2013, Claymore, Scene 138, pp. 674–677
- ↑ Jump SQ, June 2013, Claymore, Scene 138, p. 678